

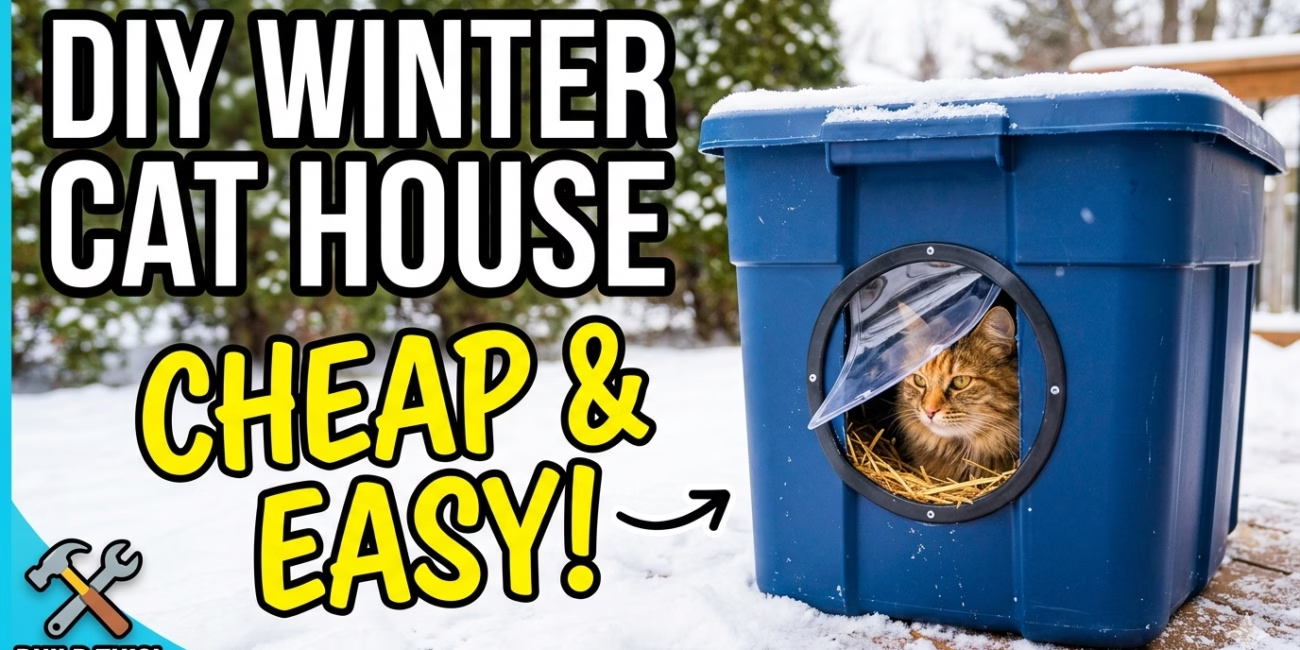
How to Build a DIY Outdoor Cat House for Winter (Cheap & Easy)
When temperatures plummet below freezing, outdoor cats face a brutal battle for survival. While feral felines are remarkably resilient, severe winter storms, snowdrifts, and sub-zero winds can easily lead to fatal frostbite or hypothermia.
You don't need to spend hundreds of dollars on a heated, commercial pet chalet to make a life-saving difference. Using less than \$30 in basic hardware store supplies, you can construct a highly insulated, waterproof outdoor cat shelter in under an hour. Let's break down the ultimate budget-friendly blueprint to keep your neighborhood strays safe and warm this winter.
The Ultimate Budget Material List
The core strategy behind a successful DIY shelter is creating an insulated "box within a box." This traps the cat's own radiant body heat inside a confined space while creating a thick thermal barrier against the frozen outside air.
You need a large plastic storage bin with a secure, snapping lid (roughly 30 to 40 gallons). Do not use cardboard, untreated wood, or thin plastic that will crack in freezing weather. Brands like Rubbermaid Roughneck are ideal because the plastic remains slightly flexible in sub-zero temps.
Purchase a standard, thick Styrofoam cooler (the kind used for shipping medical supplies or taking to the beach). It must be small enough to fit completely inside the plastic tote, leaving at least a 1-to-2-inch gap on all sides.
Straw is dried grain stalks that repel moisture, allowing cats to burrow and trap heat. Hay is dried grass used for feeding livestock; it absorbs water like a sponge and will freeze solid, essentially turning the shelter into an icebox.

Step-by-Step Construction Guide
Building the shelter is simple and requires only a utility knife, duct tape, and your core materials. If you have a hair dryer, heating the plastic tote slightly before cutting prevents the plastic from splintering.
| Step | Action Required | Crucial Detail |
|---|---|---|
| 1. Cut the Entrance | Trace a 6x6 inch circle on the outer tote and inner cooler. Cut out the holes. | Place the hole several inches above the bottom to prevent snow/rain from flowing inside. |
| 2. Assemble the Core | Place a thin layer of straw at the bottom of the plastic tote, then place the Styrofoam cooler inside. | The bottom layer of straw prevents the cold ground from sapping heat through the plastic floor. |
| 3. Pack the Walls | Stuff loose straw tightly into the gap between the cooler and the plastic tote on all four sides. | Do not pack it so tightly that you warp the cooler, but ensure there are no empty air pockets. |
| 4. Create the Bed | Fill the inside of the Styrofoam cooler halfway up with loose straw. | Allow the cat enough room to climb in, step over the straw, and burrow down deeply into it. |
| 5. Seal the Deal | Put the lid on the Styrofoam cooler, put the lid on the plastic tote, and secure it with heavy-duty duct tape. | If your area gets high winds, place a heavy brick or cinder block squarely on top of the final lid. |
Strategic Placement for Maximum Survival
A beautifully constructed shelter is useless if it's placed in a wind tunnel or sitting in a puddle. Location dictates how effective the shelter will actually be.
- Elevate the Shelter: Never place the tote directly on the freezing concrete or soil. Set it on top of two wooden pallets, a few 2x4 boards, or a layer of cinder blocks to create an insulating air gap underneath.
- Face Away from the Wind: Point the entrance hole facing a solid wall, fence, or dense brush. If the prevailing winter winds in your area blow from the north, face the entrance south.
- Consider a Flap: For extreme climates, tape a piece of heavy clear vinyl (or a strip of an old mudflap) over the entrance hole to act as a swinging door. This drastically cuts down on internal drafts.
- Two Exits vs. One: If your neighborhood has heavy predator traffic (coyotes or aggressive stray dogs), you may need to cut a smaller rear escape hole. Just know that adding a second hole will significantly reduce the shelter's heat retention.
An Afternoon That Saves Lives
Taking 45 minutes out of your weekend to assemble a tote shelter is one of the most direct, impactful ways you can advocate for animals in your community. A single, well-placed, straw-filled cooler can comfortably house two or three bonded cats, allowing them to share body heat and survive the harshest blizzards.
By keeping the materials cheap, the insulation dry, and the shelter elevated, you provide a critical lifeline for feral populations until spring finally breaks.
Passionate about practical pet advocacy? Join our DiggityDog newsletter community to receive weekly deep-dives on DIY pet projects, veterinary savings hacks, and direct advice built for modern pet parents!

J.V. CHARLES – DiggityDog
J.V. Charles is a pet care specialist and dedicated pet advocate. He founded DiggityDog to bridge the gap between complex veterinary science and practical, everyday advice that empowers pet parents to live happier, healthier lives with their furry companions.



No Comment! Be the first one.